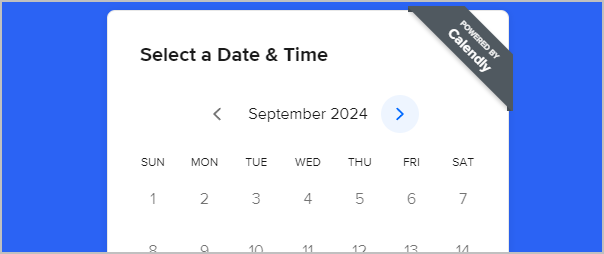
You can seamlessly embed a Calendly appointment scheduler directly into your landing pages. This makes it easier to manage appointments without the need of external tools like Zapier. Here's how you can integrate Calendly into your Keap Landing Pages. The typical use case involves capturing a lead from an opt-in form on the landing page where visitors sign up for your particular offer. Upon submission, they are directed to a thank-you page, or another sub-page, where they can schedule their appointment through the new embedded Calendly widget.
This is a perfect streamlined solution for users with advanced scheduling needs. You can now manage your Calendly appointments, tag contacts, and set up automations directly from Keap, all while keeping your calendar fully synchronized.


Get Started
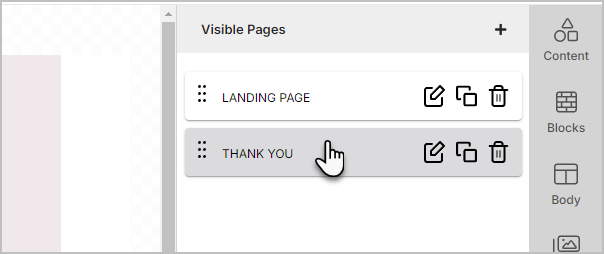
- Navigate to the page where you would like to insert the Calendly form
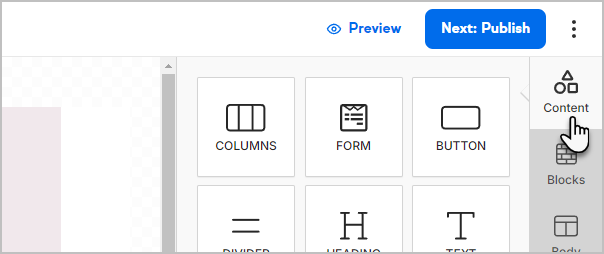
- Select the Content panel in the upper right hand side of the screen
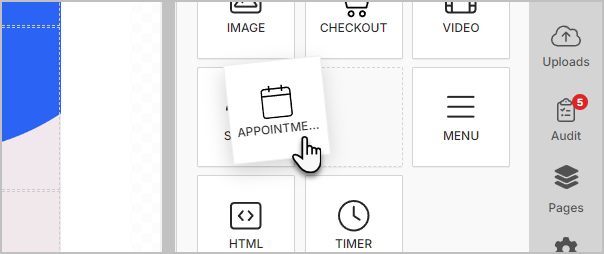
- Drag out the appointment tool on the landing page
- Under the appointment configuration section, you will see an option to either use the Keap booking system or switch to an embedded Calendly calendar.
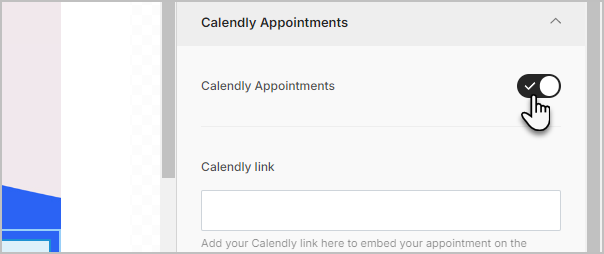
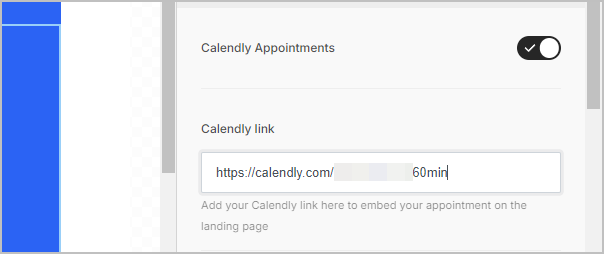
- Paste your Calendly booking link into the provided field, and the widget will automatically appear on your page.


Note: you will need to access your Calendly account in another tab so that you can copy the link to the booking event you want embedded.
Customize
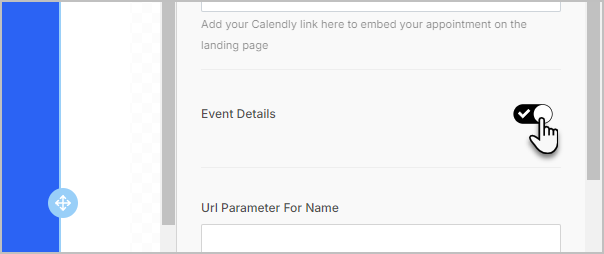
Keap allows for several customization options to tailor the Calendly experience.
- Event Details: Choose whether to show or hide event details on the page.
- Name and Email Parameters: You can pre-populate the name and email fields by passing in values from the landing page form, making the scheduling process quicker for returning visitors.
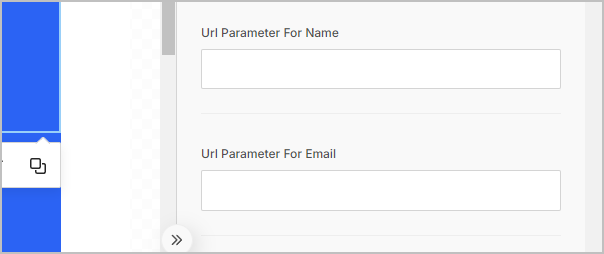 Note: This is particularly helpful IF your embedded Calendly calendar is on the front page of your experience AND you are sending existing contacts a link from Keap so that they can schedule. You will be able to use merge fields to pre-populate the name and email for the appointment.


PLEASE make sure that your query parameters in your emails match the parameters you specify in the appointment configuration or information will not populate correctly.
Tagging & Automation
When a visitor schedules an appointment using the embedded Calendly widget, you can also apply tags to the contact. This is SUPER valuable as users no longer need to leverage 3rd party tools like Zapier to apply tags to contacts when they schedule with Calendly. These tags will immediately apply to the contact and trigger any associated automations in Keap, such as follow-up emails or appointment reminders.
NOTE: If you want to have KEAP send your appointment reminder emails or text messages, please ensure that you configure your Calendly appointment to NOT send any email reminders to avoid duplicate notifications.
Facebook Pixel Integration
For those running Facebook ad campaigns, Keap allows you to add your Facebook Pixel ID in the landing page settings. This enables Facebook events to trigger when an appointment is scheduled, making it easier to track conversions and retarget users.