Legacy Notice: This article refers to a feature that used with legacy broadcast emails which are created in Marketing > Templates.
Custom Unsubscribe/Opt-Out links are not supported in the campaign builder or when sending an broadcast using the modern email builder.
Double opt-in links are used to confirm a person's request to receive your email marketing. They are generally inserted into a confirmation email that is sent from a web form. You can use the default double opt-in link or create a custom link that triggers a set of actions. When the email recipient clicks on a double opt-in link their email status is updated to "double opt-in" and the actions assigned to that link fire off automatically.
Go to Marketing > Settings

Click on Automation Links in the settings menu.
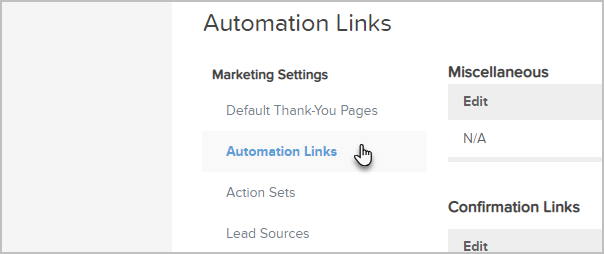
Click on the Create Confirmation Link button to create a new link.
- Name: Enter the name you'll use to identify this link (email recipients won't see this name.) It should be short and descriptive.
- (Optional) Link Blurb (HTML): Click on the Edit tab to add text or images that will show up above the double opt-in link every time it is used in an email.
- Link Text: This text will show up as a hyperlink in HTML emails. The recipient clicks on the words you enter here (e.g. "Click here to confirm your monthly newsletter subscription.")
- Link Blurb (Plain Text): This message will show up above the link in plain text emails. It usually says something like: "Click on the link below to confirm your monthly newsletter subscription." Note: You are not able to mask links with text or images in a plain text email.
Click on the Save button to go ahead and create the link. This will open up more customization options described below.
Click on the Confirmation Opt-In Page Appearance tab to customize the web page email recipients see after they click on the double opt-in link.

- Merge Field for Opt-In Header: By default the system uses the ~Company.Company~ merge field in the header message ("Your email address, ~Contact.Email~, has been confirmed. You will now receive email communication from ~Company.Company~."). This merge field pulls the company name you've entered under Admin > Settings > General settings. You can delete the ~Company.Company~ merge field and replace it with a specific company name.
- Header Color: Select a color option from the drop-down. The default is white text on a black background.
- Page Content: Click on the Edit or Source tab to customize the web page message and design. Use the Edit tab to use Max Classic's built in WYSIWYG editor or click on Source to paste in HTML code you've created outside of Max Classic.
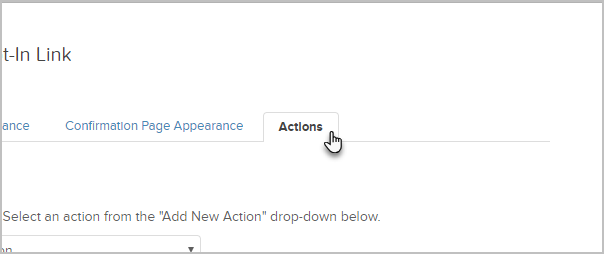
(Optional) Click on the Actions tab to add one or more action that automatically update tags and / or follow-up processes. Here is how you set up action sets.
Click on the Save & Close button.
Open your legacy email from Marketing > Templates
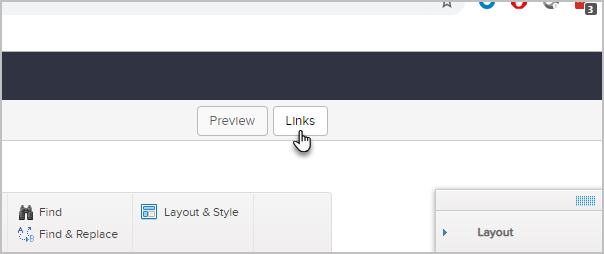
Select a location for the double opt-in link and then click on the Links button to choose a link or create a new one. If you build your emails using the Code Builder, you will need to click the arrow on the Merge button to find the Merge Fields option.
The double opt-in link merge field should show up in the email. It will look something like this: ~OptIn_35~
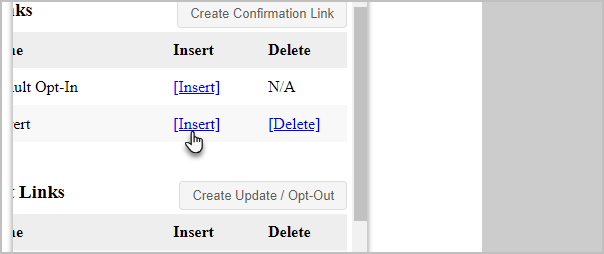
Click Insert next the custom link that you created.
Click on the Save button to save the email update and click on Close Builder to return to the email template.
Click on the Save button to apply the updates to the email template.


