It's a good idea to keep an eye on the settings and performance of your opt-in forms by periodically reviewing your WordPress opt-in forms and statistics.
View the status, or edit your WordPress opt-in forms
- In Wordpress, click on the Infusionsoft link to expand the sidebar and click Opt-in Forms.
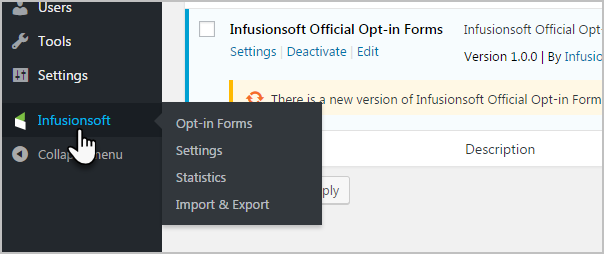
- Here, you can view Active and Inactive Opt-in forms, and create new opt-in forms.
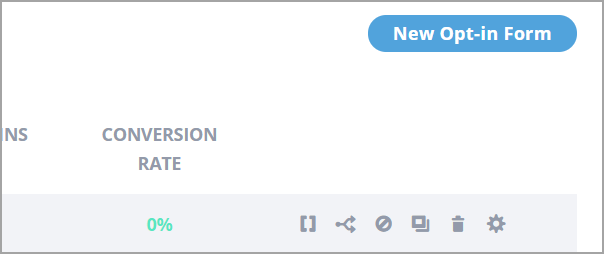 You can use the icons at the end of each row to manage your opt-in forms. Options include:
 - Generate shortcode
- A/B Testing - you can test and compare two opt-in forms
- Make an opt-in form active or inactive
- Duplicate opt-in forms
- Delete opt-in forms
- Edit opt-in forms

 You can use the icons at the end of each row to manage your opt-in forms. Options include:
 View your WordPress opt-in form statistics
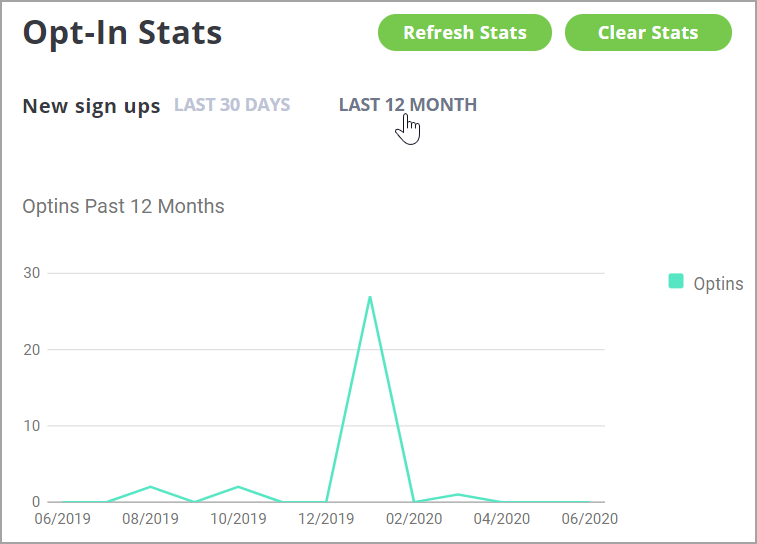
You can view aggregate statistics for all opt-in forms over last 30 days and last 12 months.
- Click on the Infusionsoft logo to expand the sidebar and click on Statistics.

- Here, you can view new sign ups over the Last 30 days or the Last 12 months. If you hover over a data point on the graph, you will see the stats for a specific date.
- Scroll down and click the drop-down arrows to view Opt-in Stats or Page Stats.
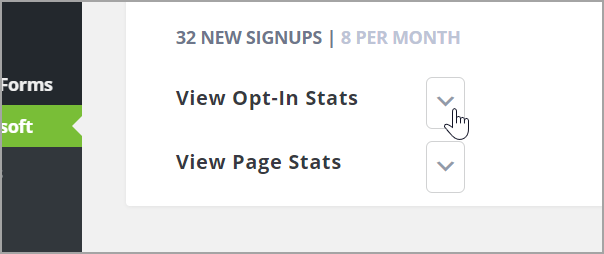
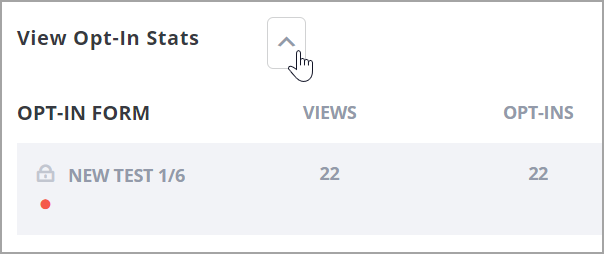
- Click View Opt-In Stats to see the number of views, opt-ins, and the conversion rate for each of your opt-in forms.
- Click the drop-down View Page Stats, to view the conversion rate for the web pages where the Opt-In form is displayed.
 You can also:
- Manually refresh the stats data
- Clear out all stats data
- View form views, opt-ins, and conversion by each existing opt-in form
- View conversion statistics by form within any given page of the users WordPress site–ideal for optimizing placement of opt-in forms by highest converting page


 You can also:
Why is my opt-in form not showing up correctly on the WordPress site?
A: Most often, this is solved by checking the opt-in form settings in the the WordPress site. You can contact Keap Support for assistance or review the steps below.
Login to WordPress and click on the Infusionsoft Plug-in located on the bottom left side of the WordPress navigation bar.
Check the Active Opt-in Forms area which shows all valid forms that are currently active.
Click on the Gear located to the far right of the Active Opt-in Form's menu to view how the form is set up. If you don't see the form in the Active Opt-in Forms area, check the Inactive Opt-In Forms because it might have been accidentally set to inactive.
If that didn't solve it, click the Display Settings tab at the top of the the Opt-in form's controls. This tab holds the controls for where the form shows up on the web site.
Check the Display and Timing Settings section to see if any of the settings are in conflict with the pop-up form.
If that didn't solve it, look at the delay in seconds. A long delay might cause the pop-up to not engage during the time frame that the customer is on the page. If it's set for longer than 20 seconds, you can shorten it.
If that didn't solve it, see if the following settings are enabled: Trigger After Commenting, Trigger After Purchasing, and Trigger When Element is Clicked - all of these options force a contact to perform an action on the page before the opt-in form shows up.