An HTTP Post is used to send information from Max Classic to a web page that runs a script (e.g., ASP, PHP, Javascript.) which extracts data from the URL and processes it on your web server.
Please Note! Only standard port numbers are supported. Supported ports are: 80 and 443.
Each HTTP post object must be configured individually. They cannot be re-used in multiple sequences or at more than one point in the same sequence. HTTP post objects are not archived. If you delete an HTTP Post object from a sequence, it can only be restored if you restore a previous version of the entire campaign.
- Double-click on the campaign sequence you wish to edit or create a new campaign sequence.
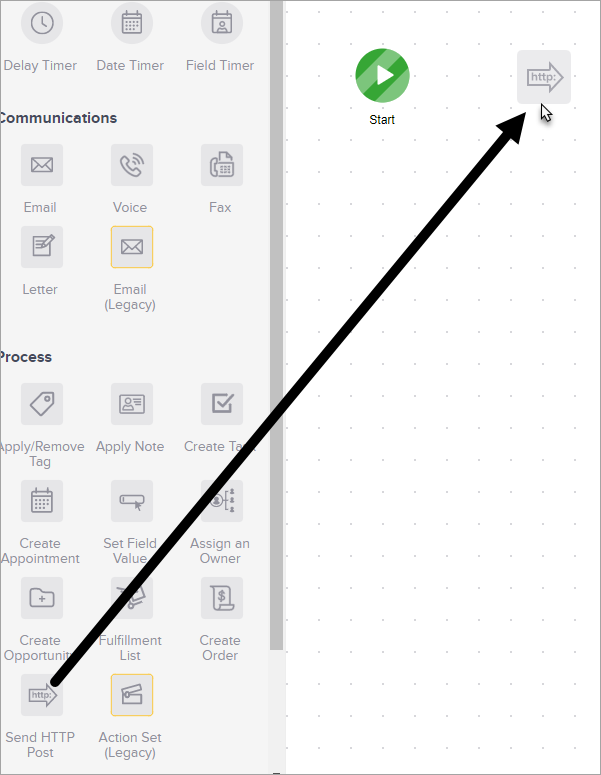
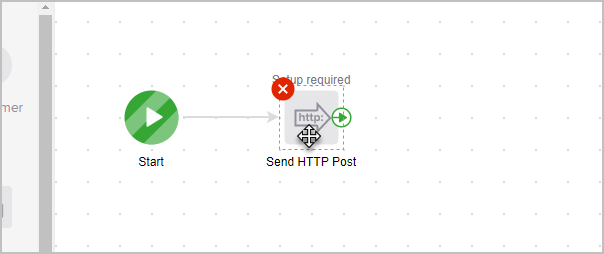
- Drag and drop a Send HTTP Post object onto the canvas.
- Double-click on it to configure the post settings.
- Enter the post URL. This is where the external web server script is hosted.

- Click Merge to access the fields you can post.
Each line item of the HTTP Post will send 2 pieces of information to the URL: a field name and a field value.- Name: The field name can be defined by you. This flexibility allows you to use existing scripts and / or comply with external API standards. If there is no need to comply with external standards, you may use the default Max Classic field names for standard or custom fields.
- Value: The value is the content of the field. For example, the standard field named "Email" might have the value "myemail@email.com." You must use a Max Classic merge field to designate the value to be pulled.
- You can add multiple lines of Name / Value pairs.

- Click the "plus" icon to add another pair
- Click the "minus" icon to remove a pair
- Note: You cannot reorder the lines after they've been added. You can only delete and recreate them. Click on to remove a Name / Value line item.
- When you've finished adding Name / Value lines, click on the Test button to verify the post is working as expected. A "200" response code validates the post is working properly. Other response codes may require troubleshooting.
- Set it Ready
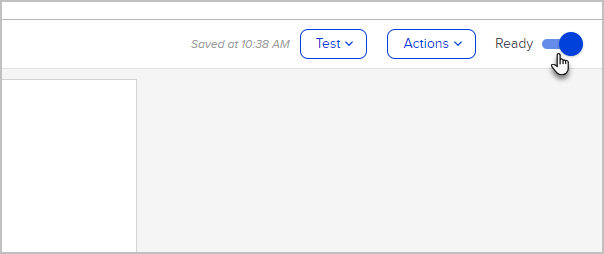
- You are ready to publish your changes.


