Remember, for the most updated course on this topic, check out this link: https://academy.keap.com/bundles/advanced-automations-complete-collection
Let's convert the prospect into a customer.
- Drag a Product purchased goal onto the campaign canvas to the right of the Sequence and give it a name.
- Double-click the goal and set up the purchase goal. In this example, the goal is satisfied when someone purchases a specific service.

- Click Save.

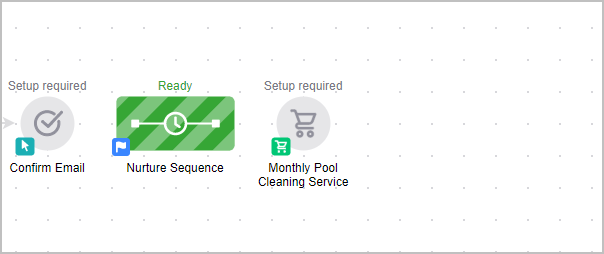
- Your campaign should look similar to this image below:

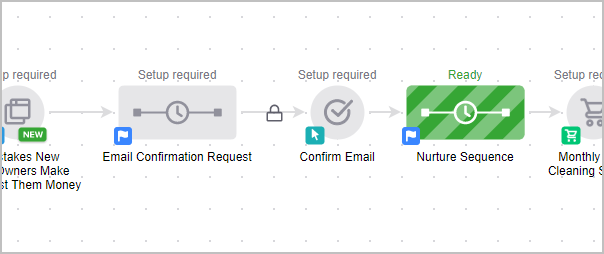
- Connect the campaign elements together. When you hover over a goal icon you will see a green arrow icon. Click the green arrow and drag it to the object to the right.
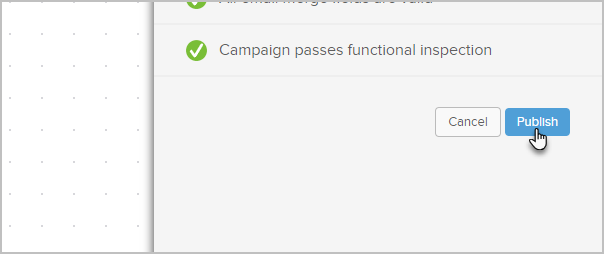
- Publish the campaign by clicking on the Publish button at the top right of the campaign canvas.

- The Campaign Checklist will validate your campaign and let you know what needs to be fixed before the final publish. Whenever you make changes to the campaign, you need to publish your changes for them to go live.
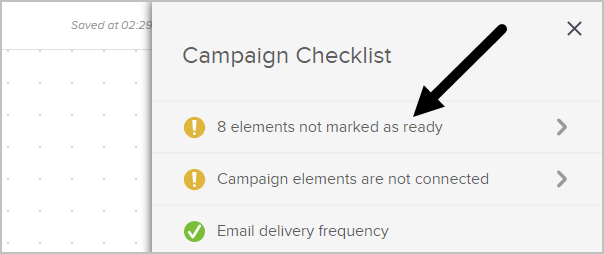
- After correcting any mistakes, click Publish again to go live with your campaign. Congratulations! You just built your first basic campaign. Next, you may want to build more sophisticated automation and customize the look and feel of your web forms and emails.