If you use WordPress as your website builder, you can use Max Classic's free WordPress plugin to create Keap-compatible opt-in forms and connect them to your campaigns.
Download the Infusionsoft Official Opt-in forms
- Sign in to your WordPress admin account.
- In WordPress admin view, click Plugins on the menu, then click Add New.
- Search for Infusionsoft Official Opt-In Forms from the WordPress plugin directory search bar, or click here to download it directly.
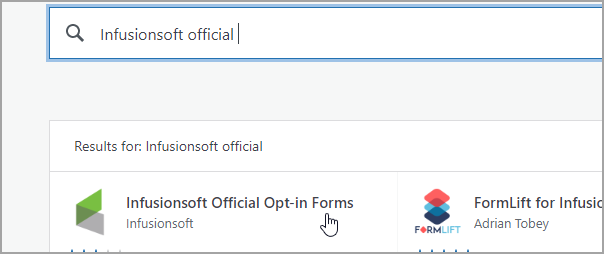
- Click Install Now.

Connect your Keap account to your WordPress website
Please note: If you have a multisite WordPress network, this plugin will work across your sites. However, do not try to connect your Keap account to more than one WordPress website or new contact records will fail to create across all sites.
- In your app, navigate to your Legacy API key. Need help? Click here and scroll down to step 5.
- Copy your 32-digit encrypted API key.

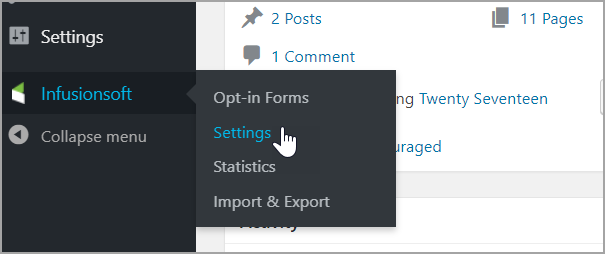
- Return to WordPress and navigate to Infusionsoft > Settings.
- In the My Account screen, click the Edit account icon.

- Paste your 32-digit encrypted API key into the API Key field.
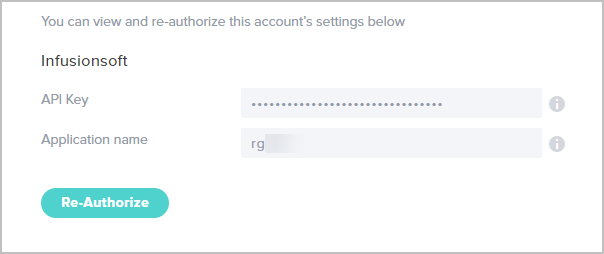
- Enter your application name; e.g., if your application URL is abc123.infusionsoft.com, then abc123 is your application name.

- Click Authorize (or Re-Authorize).
- Click Save & Exit.


Now, you are ready to Create a WordPress opt-in form.
Please Note: The "Allowed IPs" list is by default Allow All, and when IP addresses are added to that box it changes to "Deny All, except Allow for only the following IPs."