From the Data Import area, you can upload your lists of contacts, companies, products and tags. You can also use this feature to update existing contacts.
Files larger than 10 MB cannot be uploaded. In a situation where you have a file larger than 10 MB, you would need to split it into multiple files. You can use free software like Free Huge CSV Splitter to help you.
To import your data into your application:
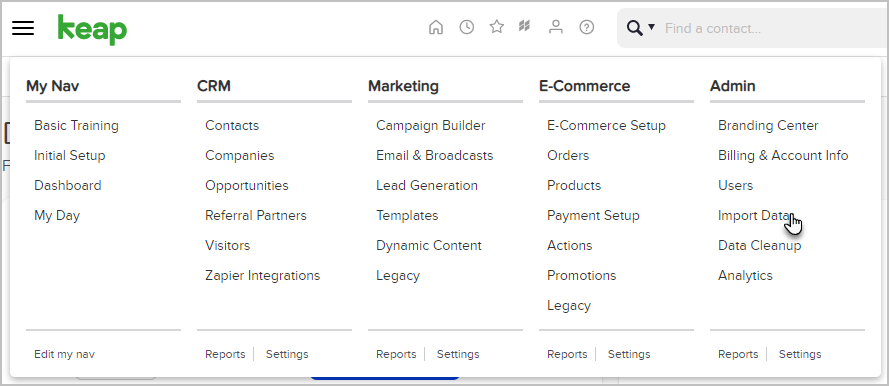
- Open the Navigation menu in the upper left hand corner of the navigation bar and click Import Data under the Admin section.
- This opens your Data Import screen. On this screen, you can use a download tool for importing the data you’ve exported from AWeber, Constant Contact, iContact, 1Shopping Cart or Outlook. You can also click view your previous imports to see what you’ve imported in the past.
- Click the Contacts drop-down to choose what type of import you are attempting.
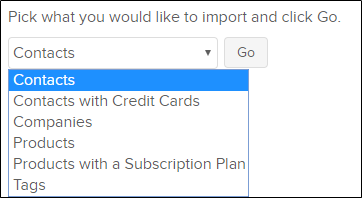
- Click Go.
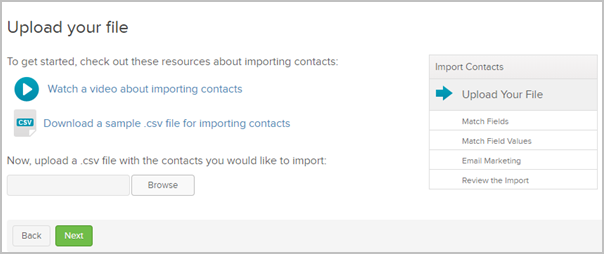
- The Upload your file screen is displayed. Here, you can Watch a video about importing contacts for a video walk-through, download a sample .csv file for importing contacts, or click the Browse button to choose a local file on your computer to import. Once you’ve chosen a file, click Next.


Remember, the file must be a ‘comma delimited .csv file’ for your application to recognize it.
- You will now be asked to match your fields to Keap's fields.
- The fields that Keap understands from your fields on the left will be displayed on the right with a green arrow in between.
- A yellow caution sign indicates that the field is not recognized by Keap.
- Use the drop-down in the box to the right to match the field accordingly. You may choose from general information such as first name, last name, phone and fax, billing, shipping and optional addresses, additional, or global information.
- If your field is not represented, click Create tags from your field values, Add a custom field, Split full name to First, Last, or Do NOT import this field.

- Click additional field matching options... at the bottom of the page to add your field choice to multiple fields or to mass add a field value to the entire list.
- Click Next.
- The value matching screen appears where you can match the fields in your import to fields in Keap. An example would be if your list has the first phone number listed as Home, Work or Cell but Keap has it matched as personal, business or mobile. You can change this in Keap globally to match your data.
- Click Next.
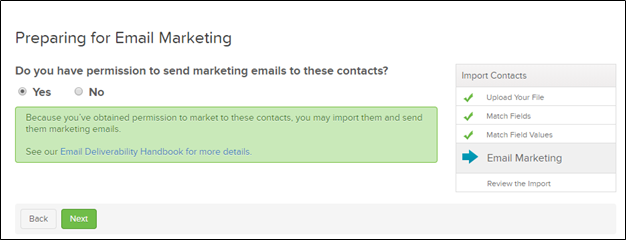
- The Preparing for Email Marketing screen is displayed asking you to confirm you have permission to market to these contacts. Remember there is no need to opt-in your list again if they have already been opted in elsewhere in accordance with and in keeping with your end user agreement. Click Email Deliverability Handbook for more details.
- Click Next.
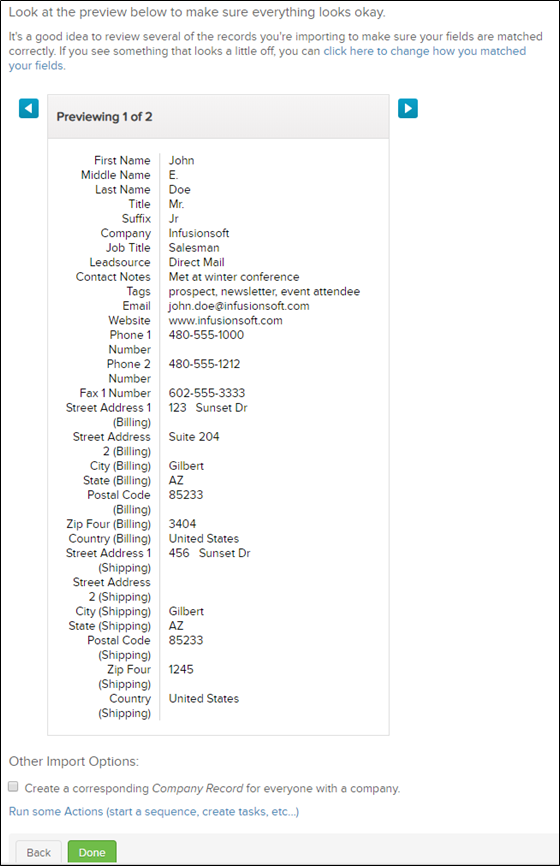
- A final preview screen is displayed.
- Click the blue arrows to check that your contacts look correct.
- At the bottom of the page you have the option of checking a box that will Create a corresponding company record for everyone with a company.
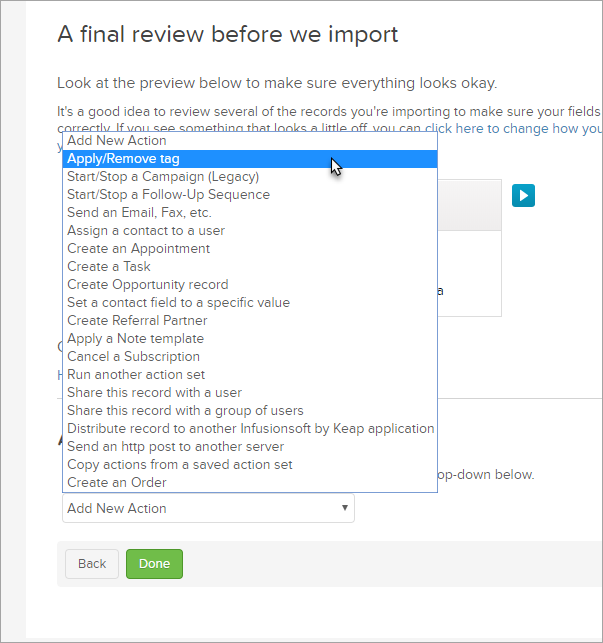
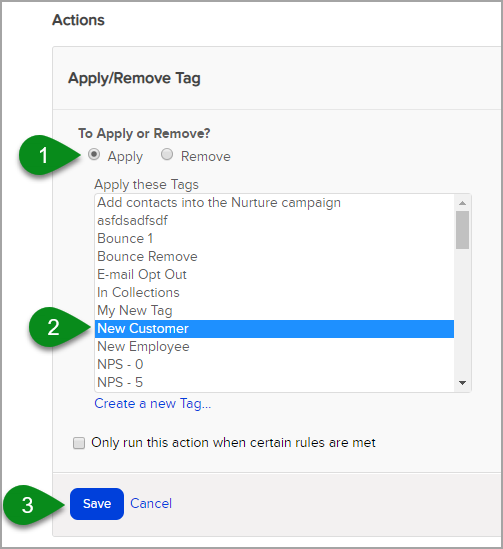
- You can also run an action as soon as the contacts are imported. The most common action would be to add a tag(s) to these contacts in order to organize them. Click the Run some actions (start a sequence, create tasks, etc...) link to get started.

- Click Done when you are finished


