You can use Max Classic to print a mailing label for one contact or to print mailing labels for a group of contacts. Max Classic will create a label document in Microsoft Word with the merge field s already filled and ready to print.
Go to CRM > Contacts in the main navigation.
Search for a new list of contacts or select a saved search from the drop-down.
Click on the Actions drop-down and select Print Labels.

Set up your mailing label by clicking on the Open Merge Window button and add your merge fields. Remove any merge fields you are not using (e.g. ~Contact.StreetAddress2~.)

Warning! Using a merge field that does not have data or default will create blank spaces on the labels.
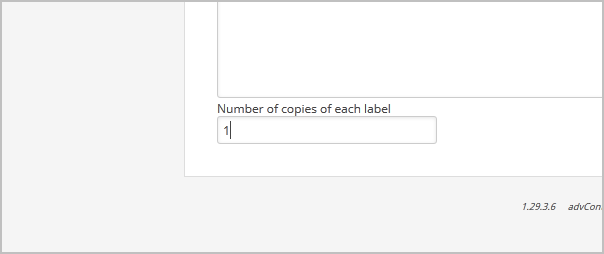
By default, Max Classic will generate one label per contact, but you can change this value if needed.
Choose a Label Type from the drop-down. This list includes common Avery label formats.

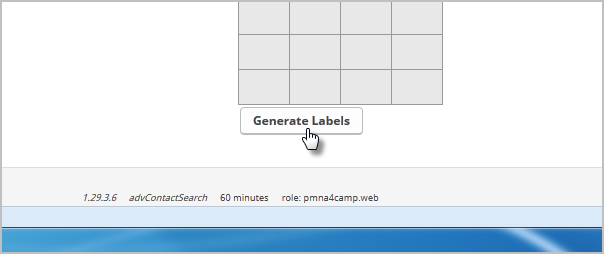
(optional) Click on a label location to select the starting label. This allows you to use a partially used label sheet.
Click on the Generate Labels button and then OK to print the labels.
Print a Mailing Label for One Contact. While viewing a contact record, click on the Select an action drop-down and select Print a Label.

- Follow steps 4 - 8 above.


