Now that we have a web form goal, let's connect it to an automated sequence.
- Drag an Email Confirmation onto the canvas to the right of the landing page.

- Now, click and drag a Sequence to the right of the Email Confirmation.
- Rename the sequence, "Nurture Sequence".

- Double-Click the Nurture Sequence icon.

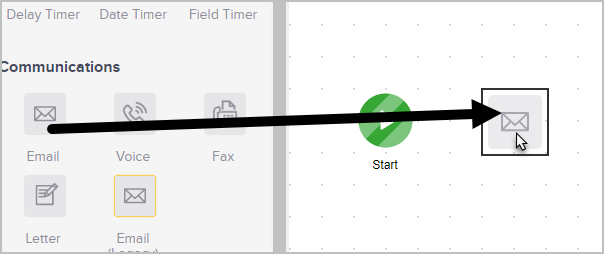
- You are now viewing the campaign sequence canvas. Click and drag an Email to the right of the Start icon. This email will send immediately when someone submits the web form (accomplishes the goal).
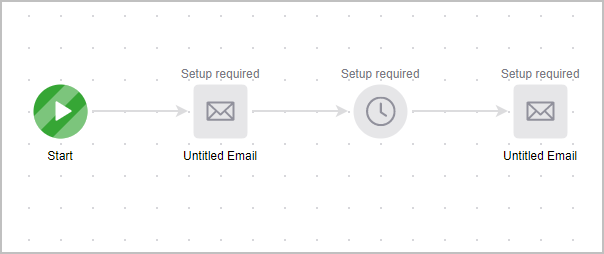
- Click and drag a Delay Timer onto the canvas to the right of your email.

- Double-click the Delay Timer icon.
- This email will run 3 days after the goal is accomplished on any day of the week. You can configure the timer by clicking on the drop-down fields and selecting your parameters.

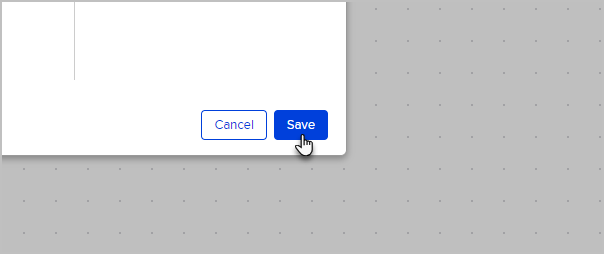
- Click the green Save button when you are finished configuring the timer options.
- Click and drag another email onto the canvas to the right of the Delay Timer. This email will be sent according the timer you created in the previous step. You can continue to add timers and communications to build out your nurture sequence.
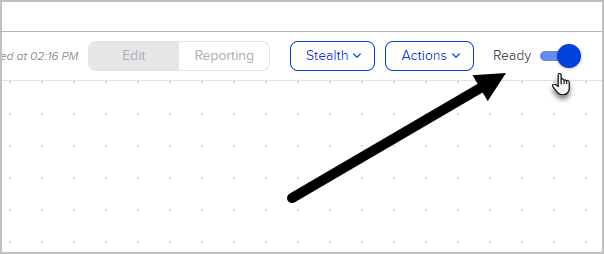
- When you are done configuring your sequence, mark everything as Ready.
- Click the arrow to go back to your campaign.

- Go to Part 3.


For the most updated course on this topic, check out this link: https://academy.keap.com/bundles/advanced-automations-complete-collection