A landing page is an Infusionsoft hosted web page with a built in web form that can be designed and launched quickly without the help of a webmaster. You can create a multi-column landing page layout and include text, images, and videos in the content. Landing pages are more robust than hosted web forms. Contacts usually fill out the form on a landing page, but they can also be used as data entry pages for an outsourced call center or contractor. Each landing page can only be assigned to one campaign goal. A landing page will auto-saved every 30 seconds so you can work with confidence.
-
Drag and drop a campaign goal onto the campaign builder canvas.

-
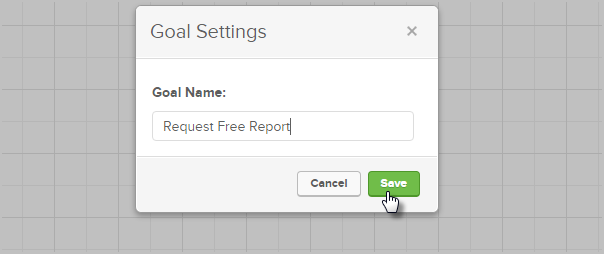
Name the goal and click Save
-
Double-click the goal to set up the landing page.
Pro Tip! If you've already created a landing page, you have the option to copy it and use it as a starting point. Click on the Landing Page button and select Copy from Campaign. Select the campaign name and then select a specific landing page from that campaign. If you do not see a landing page listed, you may need to publish the campaign before proceeding.

-
Enter the landing page meta data. This information is used to optimize the landing page's search engine effectiveness. It describes the content of the page and makes it easier to find from a search engine. The meta key words are invisible, but the title and meta description display in the search results.

-
Click on Layout & Style in the landing page toolbar to create or select a custom style. The style defines the font and background colors used throughout the landing page. The layout allows you to add or remove the header, footer, or sidebars, adjust page widths, customize form field position and size, and more. If you haven't created a custom landing page style, click on Edit on one of the standard styles and customize it using one of the following options.

-
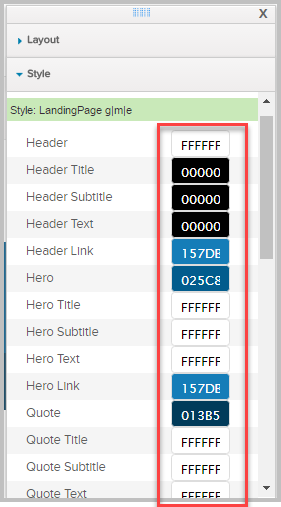
Enter the hexidecimal color codes for your company colors. You can obtain these from your graphic designer. Click into a color field to select a color from a color chart or use the eyedropper tool to select a color from a landing page image.
-
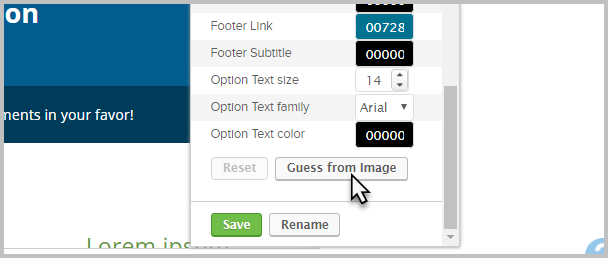
Click on your custom banner image, and then click on Guess from Image in the style menu.
Pro Tip! Each time you click on Guess from Image, the system will analyze the header and suggest a possible style.
-
When you like the style, click on Save to give the style a name and save it for future use in other landing pages.
-
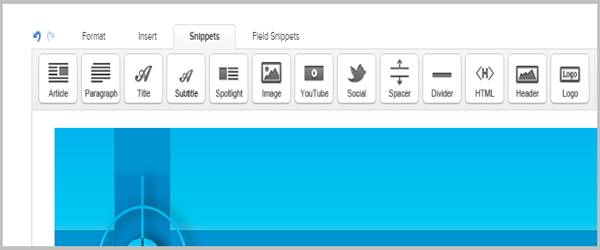
(Optional) Add more page content (images, paragraphs, titles, etc.) using the content snippets.
-
(Optional) Customize the form fields by adding or removing field snippets

-
Click on the Test button to preview the landing page as you customize the design and make changes to it.

-
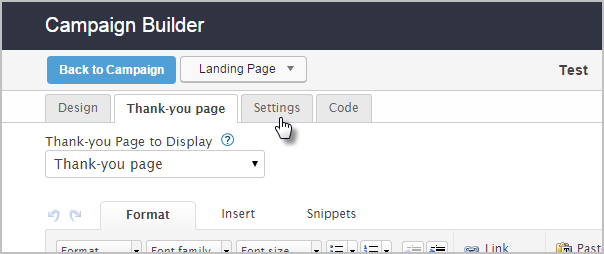
Click on the Thank-you page tab to customize the hosted thank-you page. Header (600 x 100 pixels), snippets, layout, and style, or enter select A Custom Website URL from the drop-down to enter the URL for an existing website.

-
(Optional) If you use the Infusionsoft thank-you page, you can insert merge fields to personalize the thank you page. It will insert personal information that exists in an Infusionsoft contact record, like a name or company name into the thank-you page text. To merge more information onto the page, just insert a merge field into the body of the Thank you page.
-
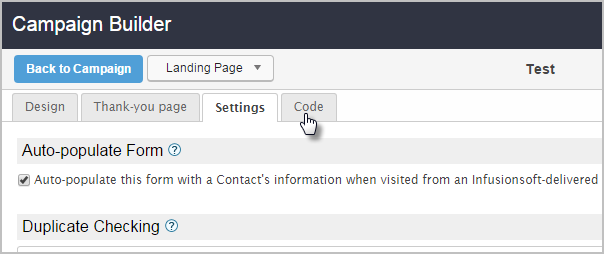
Click on the Settings tab to select a method of identifying duplicates and set up a notification email. The notification email is sent each time someone fills out the landing page web form.
-
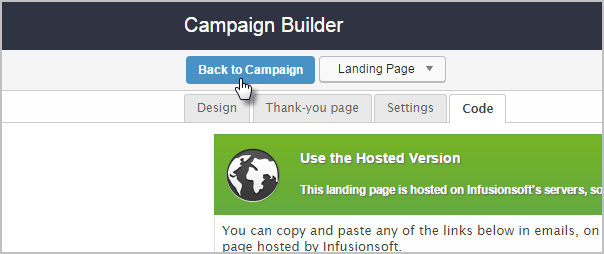
Click on the Code tab to choose a method of using the landing page.
We recommend you use the hosted version and/or share the landing page with your network.
- Do It Yourself or Have Your Webmaster Do It: These options allow you to host the landing page on your own domain.
- Use the Hosted Version: Copy the landing page URL or create a custom URL to link this page to a paid ad (Google / Facebook PPC), to a blog article, or use send it by email. Note: The custom URL will no longer work if you edit it again. Choose a custom URL that you can use permanently.
- Share This with Your Network: Use this option to publish the landing page link to your social followers.
-
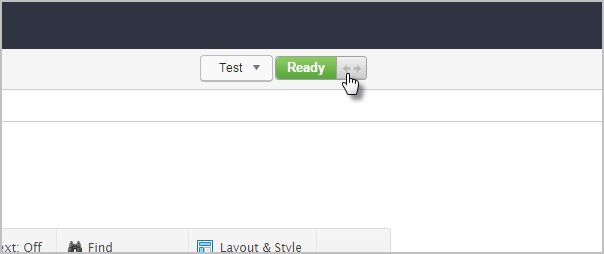
When you finish customizing and testing the landing page, toggle the status from Draft to Ready.
-
Click on the Back to Campaign button.
-
Publish your changes.


