In order to troubleshoot certain complex issues, our support team may ask for you to provide us with a HAR file. This is a browser log which can contain error data that will allow us to continue to troubleshoot the issue. Typically, a HAR file is necessary when you're experiencing an issue that our support team isn't able to locally duplicate, therefore we will need the log data from your browser to determine what is causing the issue.
Generating a HAR file with Chrome (PC & Mac)
- In the top right of your browser, click the three vertical dots to open the overflow menu. Once opened, select More Tools > Developer Tools to open the console.
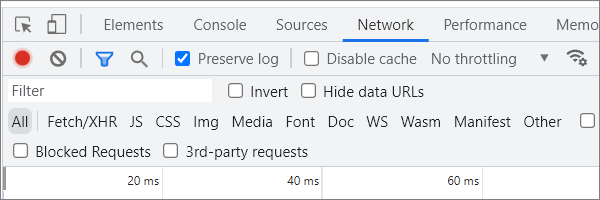
- Select the Network tab. Make sure the Preserve Log checkbox is selected.
- In the top left, you will see a red Record circle indicating the browser activity is being recorded. If it's grey, click the circle and you'll see it turn red. It should look like this.
- If not already there, navigate to the area of the application in which you will duplicate the issue.
- Next to the red circle, you will see a Clear button. The icon is a circle with a line through it. Click this to remove any existing log data from the console.
- Reproduce the issue.
- Click the red Record circle to stop recording. It should turn grey indicating it's no longer recording.
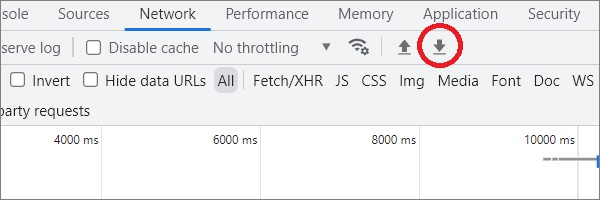
- Select the 'Export HAR...' button near the top of window. It looks like a downward pointing arrow, as seen in the image below. Make sure to save the file to your computer with a HAR file type.
- The support team member will provide instructions on how to transfer the file to them.

