Create a landing page that allows you to capture new leads on a custom-designed page hosted by Keap.
Create a new landing page
- Go to Marketing > Landing Pages

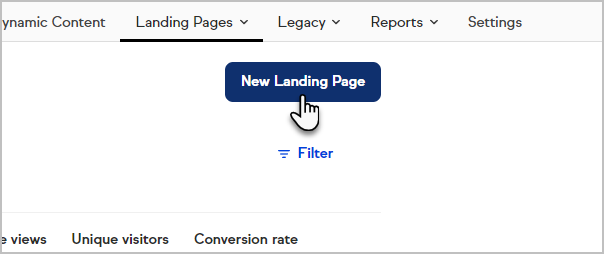
- Click New landing page
- Select a Template or Start from Scratch

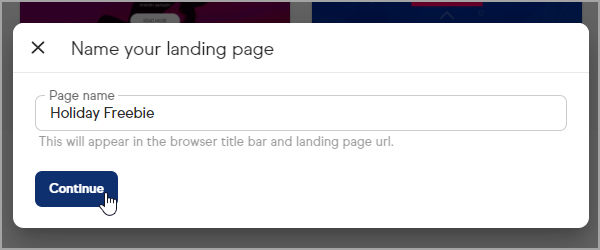
- Name your landing page and click Continue
- Design your landing page
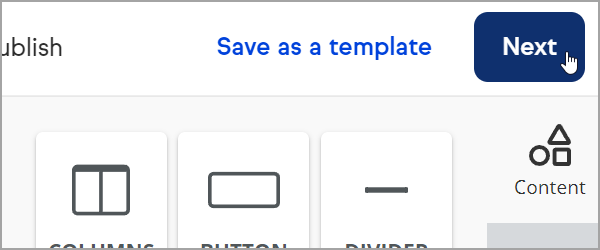
- Click Next to publish your landing page
Share your published landing page
- Landing Page URL: A custom URL is created based on the name you gave your landing page. Copy the link and share it on your social platforms or link to it from your website.
- When you change the name of your page, it will automatically change the ending URL (called a slug)

- You can also manually change the slug separately by clicking on the Edit URL
- You can also use your existing website domain by selecting Edit URL, then choosing to Use your existing website domain and following the steps. You'll need to have a subdomain already set up (subdomain.domain.com) before proceeding. Your landing page will now have your domain name (slash) your page name (ex. domain.com/landing-page-name.) Note that the URL may take 48 hours to propagate.


- Add to your website: You can use a javascript snippet to add an iframe of your landing page to your website. Copy the code and paste it to a page on your website using HTML editing.
Edit a landing page
- Navigate to Landing pages
- Click the
 icon next to the landing page you would like to edit
 - Select Edit from the dropdown

- Make your edits and click Next

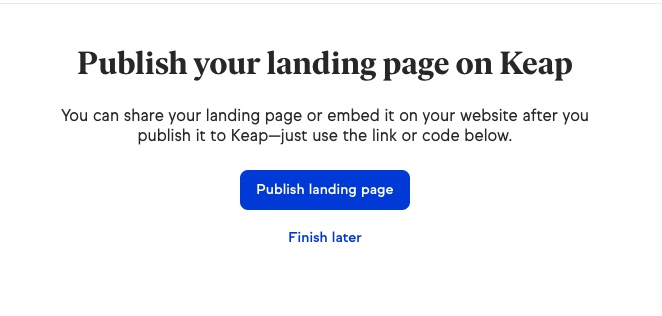
- Click Publish changes to make your new edits live
New edits to an existing landing page can take 15-30 minutes to appear on the live version of the page
Pro-Tip: When using the State field you will need to also include the Country field in your form
Landing page reporting
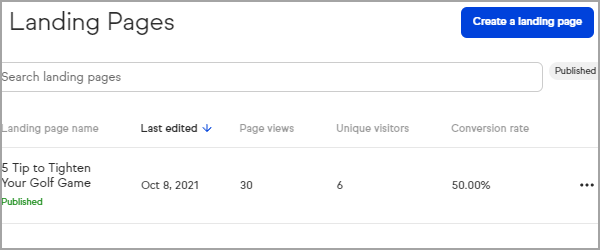
You can track the effectiveness of your landing pages based on your page views, unique visitors, and conversion rate.
- Navigate to Landing pages
- Click Filter
- Choose Published from the dropdown

- Review your published landing page statistics
Frequently asked questions
How do I follow up with a contact who fills out a landing page?
Landing pages are available in both Easy and Advanced Automations to create automatic follow-up after a contact fills out a landing page.
Are there differences between Pro, & Max landing pages?
Yes, while the building experience is the same, Max customers also have the ability to add additional pages to their landing page. Pro customers are limited to 2 pages, including the thank you page
Will a landing page submission opt-in a contact who has previously opted-out?
No, landing page submissions aren't able to opt-in email addresses who's email status is currently in an opt-out status. If this is needed,
a web form can be used instead.
How do I set the contact type when someone submits the form?
By default, the contact type will be set to "Prospect" when the contact record is created after submitting a landing page. This value can be found under CRM settings. Note that you can use the Automation builder to set the field value to something else if you wish.


