With checkout pages, small businesses using Max Classic’s E-Commerce platform can customize a web page with a product or service and let customers buy directly online, without ever having to get on the phone. Please Note: Checkout Pages does not work with PayPal Express.
Please note! The Legacy Landing Page Checkout Page has been disabled for new customers as we have transitioned to a modern landing page experience. If you require access to the Legacy Landing Page Checkout Page, please contact the Support team for assistance.
Thank you!
Setup Legacy Landing Page Checkout Page
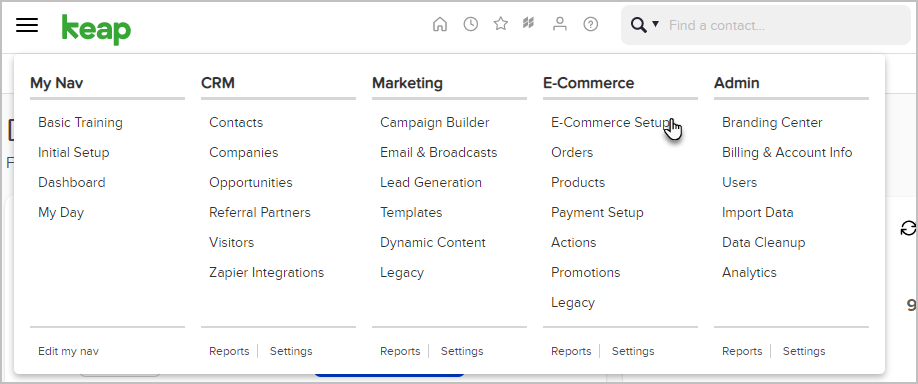
- Navigate to E-Commerce > E-Commerce Setup.
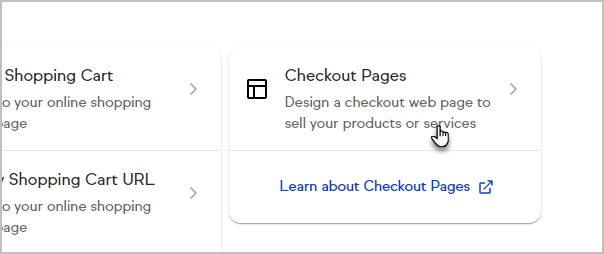
- Click Checkout Pages
- You have a choice to:
- Create from scratch.
- Use a template.
- Use a template you have edited by selecting Your Pages


Legacy Landing Page Checkout Page page setup
- Name your checkout page.

- Design your page by editing the template or building from scratch
- When you're finished building, click Continue

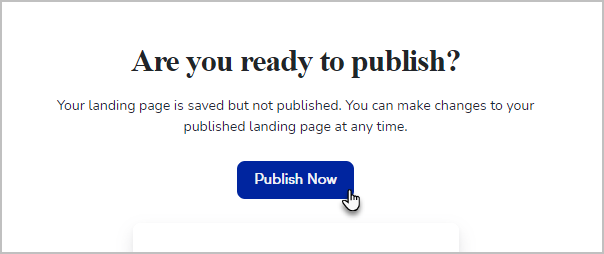
- Click Publish now


Template checkout button
If using a template, click the button that is already placed on the Legacy Landing Page Checkout Page to configure it.
Configure Legacy Landing Page Checkout button
- Enter a Name.
- From the Action drop down select Link to checkout.
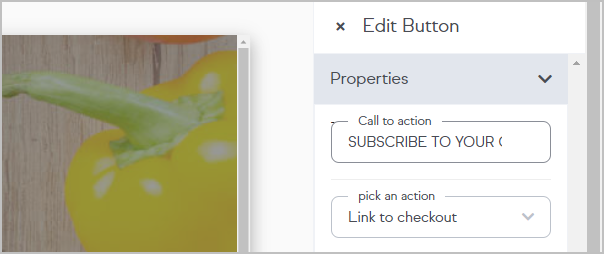
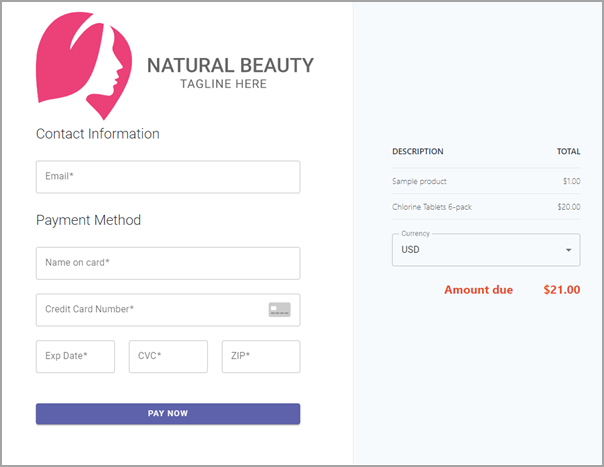
- The purchase page will take some styling elements (logo and tagline) from your Legacy Landing Page Checkout Page and apply them automatically. Currently, you cannot modify the purchase page.


Legacy Landing Page Checkout button
- From the left menu, click Element, then drag the button element onto your page
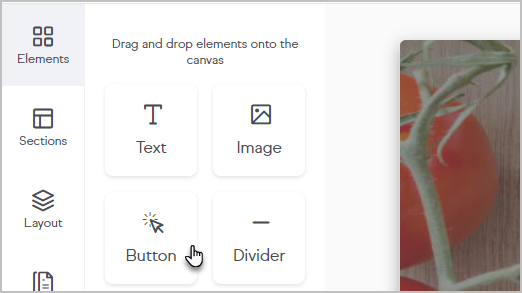
- Click the button to configure it.

Add products to the Legacy Landing Page Checkout Page
- Click Products.

- Type the product name and select from the drop-down options.

Manage and create products through the Legacy Landing Page Checkout button
- Click Manage Products.
- Click Create new product.
- Enter the product information
- Click Save
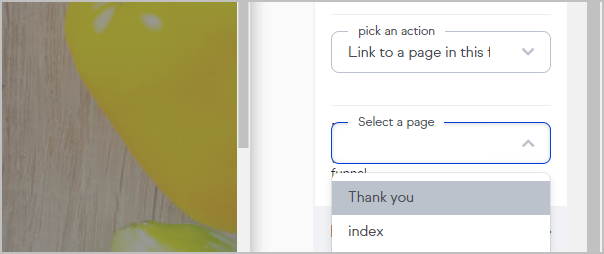
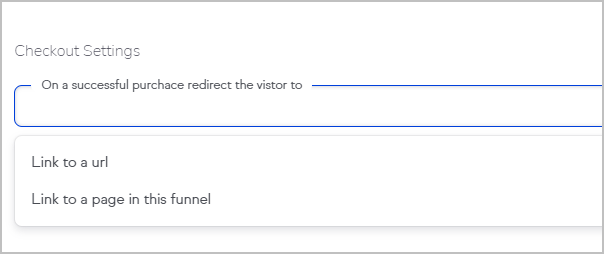
Legacy Landing Page Checkout Settings - redirect visitor
After a successful purchase you can redirect your customer to a URL or a page in your funnel.
- Click Settings
- Click Checkout Settings
- Select the page from the drop-down.

Manage & edit your Legacy Landing Page Checkout Pages
- Navigate to E-Commerce > E-Commerce Setup.
- Click Checkout Pages.
- Click Your Pages.
- Open the more menu and click Edit template.
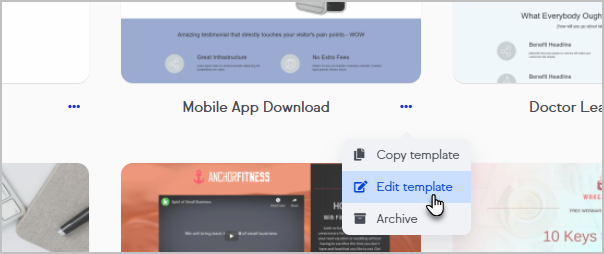
- Edit the page as needed and republish it when ready

Add additional pages to your funnel
You can build funnels with up-selling and down-sell opportunities. Manage form redirects through the Legacy Landing Page Checkout button Action drop down.