DKIM (Domain Keys Identified Mail) is a complex email protocol that allows a sender's identity to be authenticated by the recipient to help combat email fraud. It's also a very important factor in your email deliverability. DKIM affords the greatest assurance that the sender is who they say they are and gives email providers a way to track and hold senders accountable for the messages they send. As a result of setting up DKIM, your email deliverability and inbox placement improves. If you haven't set it up yet, follow the steps below.
How does it work?
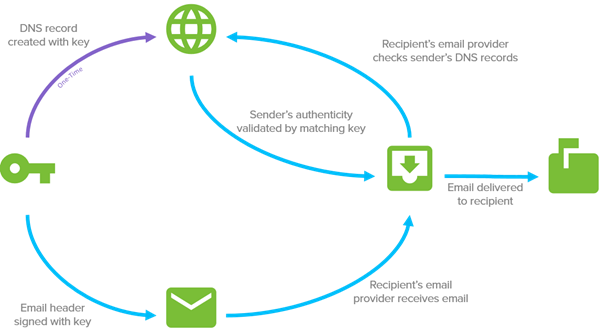
A public key is used to create a DNS record. That same key is also used to digitally sign the header of emails that are sent. When the recipient's provider receives the email, they check the sender's DNS records and the sender's authenticity is validated by the matching key. The message is then delivered with confidence that the sender is who they claim to be.
What's special about Keap's implementation of DKIM?
Normally, implementing DKIM requires a domain owner to create public and private RSA keys which are used in the authentication process. To make it easier for you to implement DKIM, Keap has eliminated this complexity by creating these keys on your behalf. With this approach, you only need to create 3 CNAME records in your DNS records that point back to the Keap servers, and turn on the function in your Keap account.
Setting up DMARC externally can be challenging due to complexities in defining policies, managing DNS records, and interpreting authentication reports. However, Keap simplifies this process by providing an easy way to create the necessary DMARC record, streamlining the setup for enhanced email security.
We've tried to further simplify this process by providing simple, step-by-step instructions directly within your Keap account to help guide you.
Note: For users on Keap Classic, access Keap Ultimate by opening the menu icon located beside the Keap logo. Click on "Try new features" and activate the switch beside "Try Keap Ultimate."

If you do not have access to try Ultimate you will need to access the new email authentication process through the Marketing-Settings section and search for Email Authentication
How do I set it up?
These instructions require you to create a CNAME entry in your DNS records. If you need assistance with this step, we recommend you contact your DNS provider for assistance because the steps may vary depending on your provider. Below are links to help articles of several common DNS providers to help you.
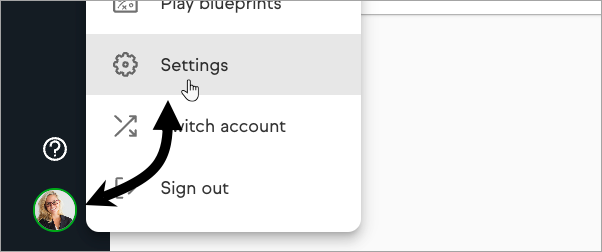
- Navigate to your Keap settings by clicking your avatar located in the bottom left followed by Settings
- Search for Email Authentication to bring up the setting and click to open.

- Under Email, if you have an unverified business email address domain associated with your app it will be listed under the Suggested section of the page. Click on + Connect this domain to begin the process. Or you can add a different email domain by clicking the stand alone + Connect email domain at the top of the page


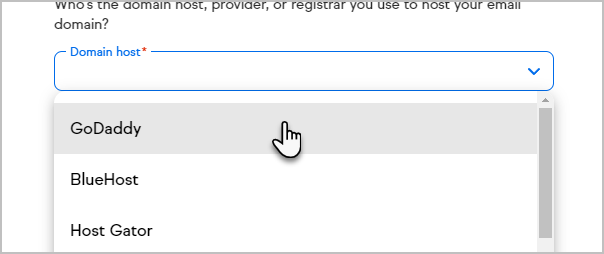
- Select your domain provider from the drop-down
- Determine if you have DMARC authenticated on your domain
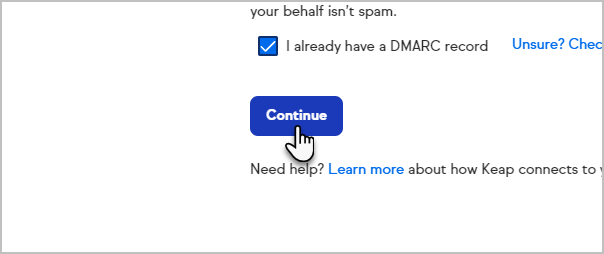
- If you already have a DMARC record on your DNS you will check the I already have a DMARC record box

- If you are unsure, you can use the link next to the box to check, this will bring you to the Dmarcian DMARC domain checker

- If you do not have a DMARC record on your DNS file, you will need to select either the DMARC policy None, Quarantine, or Reject. We suggest starting off using the None policy. To learn more check here

- If you already have a DMARC record on your DNS you will check the I already have a DMARC record box
- Click Continue button
- Access your Domain Provider's platform and paste the provided CNAME records into your DNS settings. Please avoid highlighting and directly copying the record, as this might result in incorrect setup of your record. Instead, click on the intended record to ensure accurate configuration. If you are unsure on how to create and add CNAME records to your DNS provider, please see the links above or contact your DNS provider for assistance.
- Create new CNAME records in your provider for each row shown
- Copy and paste text into Name or Host field
- Copy and paste text into Value or Points to field

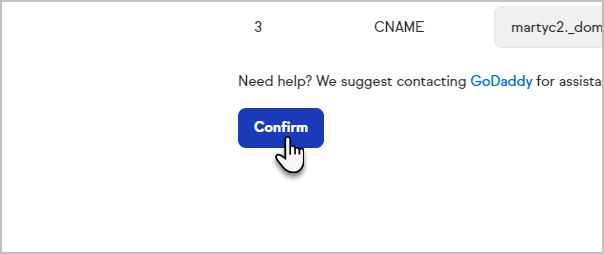
- Click Confirm after the CNAME records have been added in your Domain Provider DNS records
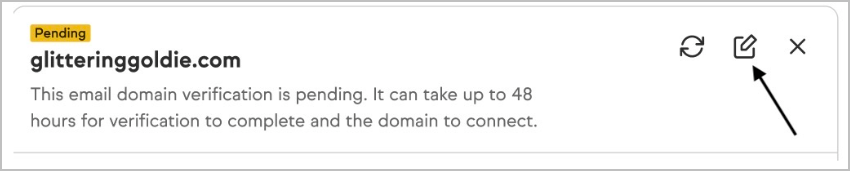
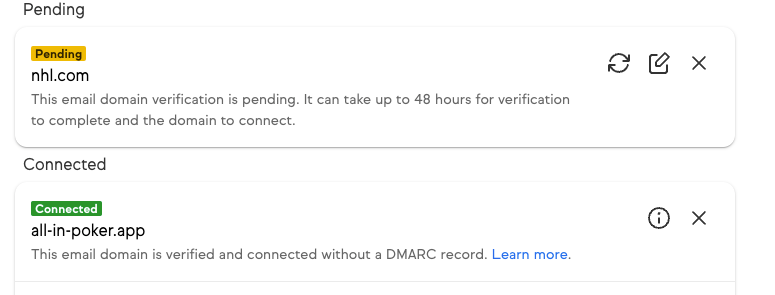
- You will then be taken back to the Domains home page, and your new domain will be displayed with a Pending status. The verification process may take up to 48 hours to complete. Once verification is complete your domain will show Connected.


If your domain authentication is stuck in "Pending"
If you previously had your domain authenticated within Keap and it is stuck in the Pending status for more than 48 hours, you will need to click on the edit button (pictured below) and go through the steps above, if you have already copied over the appropriate records just click confirm when you get to the records page. If your records have been verified it will move into Connected and if it is still verifying it will remain in the Pending status until verification is completed.