Review the Basic Getting Started Guide
First, review the basic getting started guide for all new Max Classic users in order to learn the basic concepts in Keap.
Please note! Most of features described in this article require you to have Admin permissions in Max Classic.
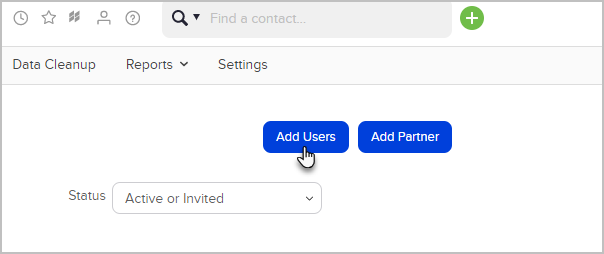
Add or Remove users
Learn how to invite new users and remove old users from your Max Classic account (Admin > Users).
Set User Permissions
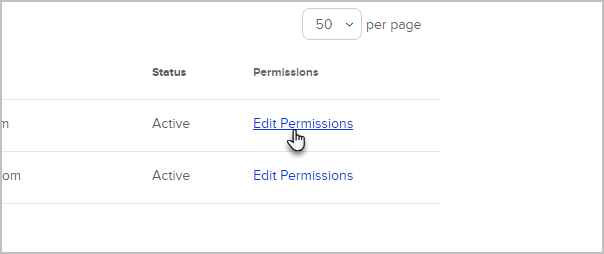
Max Classic has a very extensive permission structure allowing you to gate users from accessing certain areas or performing certain tasks in Max Classic. If another user in your account says, "Why can't I see X" - it's likely because they don't have permission to do so. Go to Admin > Users and click the Edit Permissions link to start configuring the permissions for a particular user. You can find an exhaustive list of permissions here.
Here are Top 5 Most Common Permissions That New Admins Change:
- How can my users see each other's calendars?
- I don't want my users to see each other's contacts
- I don't want my user to export lists from Keap
- Why can't my user add a tag?
- I need to give my user the ability to edit marketing campaigns
Import Contacts
You can upload your own .csv file or use one of our native import tools to get your contacts into Keap.
- First, take a look at the Import FAQ
- (optional) Export from your current system
- Prepare your csv file
- Import Contacts
- How to view and rollback imports
Custom Fields
- Choose the types of custom field(s) that best fits your needs. This article will show you how to choose the right field type when you need to store data that isn't native to Keap.
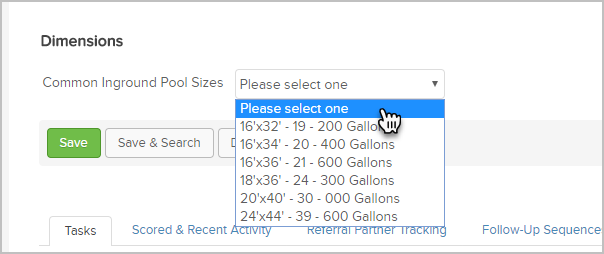
- Once you've learned about all the custom field types available in Keap, follow this guide to learn how to create and manage them.
Segment Your Contacts
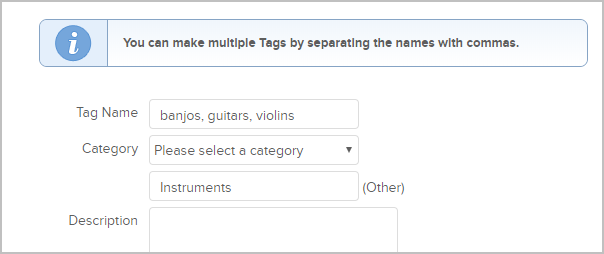
Most of the time, tags are create on-the-fly when you are setting up automation. Click here to learn how to create and manage your tags and tag categories.
Set up the Branding Center
There are only a couple things in the Branding Center that will apply to you.: Uploading your business logo and configuring a setting that controls Keap branding in the footer of your marketing emails. You may have already uploaded your logo when you first set up your Keap account, so this may be an optional step for you.
Pro-Tip! Unless you are already using legacy features, you can ignore the Default Templates tab.
Update your Billing Information
Click here to learn how to make changes to your payment and personal information we have on file for your account.
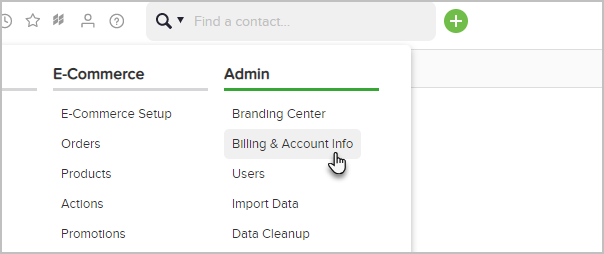
Make a Payment on Your Keap Account
Learn how to make a payment on your Keap account.
Upgrade Your Account Users Or Contact And Email Levels
Learn how to add more users, email and contact capacity.
Keap Academy
 For more on this topic, check out this training from Keap Academy. Learn at your own-pace as experts walkthrough the set up and application of these features with context and strategic insight.