Confirming an email address is a manual process where your contact clicks a confirmation link to tell their email provider they want to receive marketing emails from you. This improves deliverability by reducing the number of unengaged contacts you send to, helping your emails avoid spam folders and rejections.
Two Ways to Send Confirmation Emails in Keap
You can send a confirmation email to contacts with any of the following statuses:
- Unengaged Marketable
- Unengaged Non-marketable
- Non-marketable
- Unconfirmed
Important: A contact can receive a maximum of 2 confirmation emails within 30 days. If you attempt to send more, the contact record will display this message:
"You have exceeded the maximum amount of confirmation emails that you may send to this recipient. You may only send 2 confirmation emails within a 30 day period."
One-off Confirmation from a Contact Record
- Open the Contact Record.
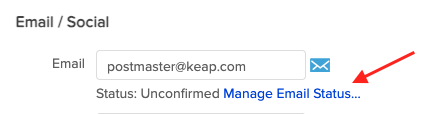
- Go to the Email / Social section and click Manage Email Status.
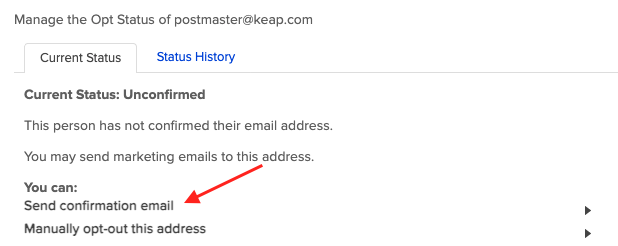
- In the You Can section, click Send Confirmation Email.
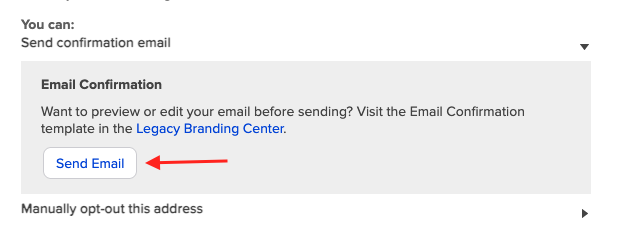
- Click Send Email.
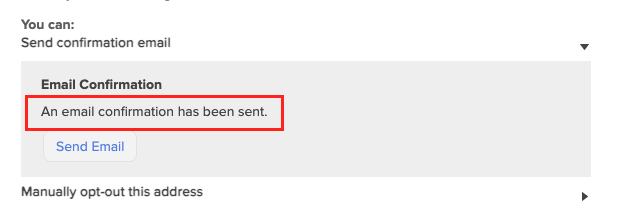
- Once you see the message “An email confirmation has been sent,” the confirmation email has been successfully delivered.


Bulk Confirmation Requests through an Automation Sequence
An Email Confirmation Sequence is a special type of automation that sends a confirmation request to contacts when they opt into a campaign. This ensures your marketing focuses on people who confirm their email address.
To set it up:
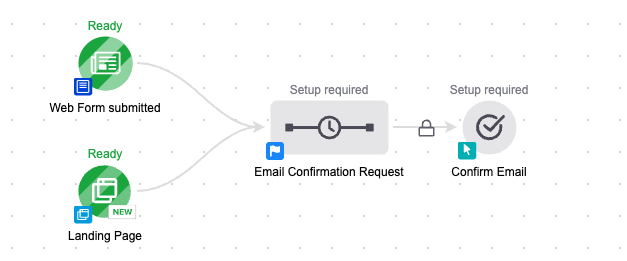
- Drag an Email Confirmation Sequence onto the campaign canvas.

- Connect it to a goal, such as a Web Form or Landing Page.
- If a contact already has a confirmed email address, the sequence will be skipped and they’ll move to the next campaign step.
- If a contact already has a confirmed email address, the sequence will be skipped and they’ll move to the next campaign step.
- Double-click the Email Confirmation Request sequence.
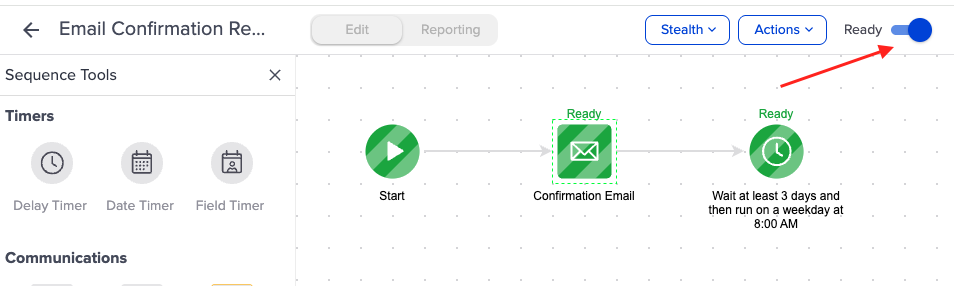
- You’ll see a pre-built email and delay timer.

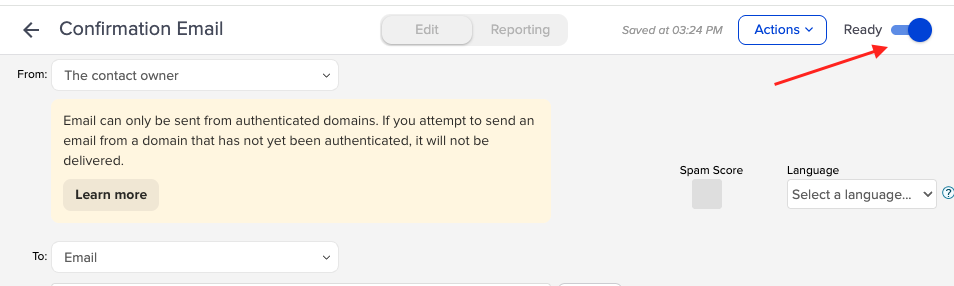
- Click on the email. The confirmation email is locked to ensure CAN-SPAM compliance, so customization is very limited. Make any changes that you can.

- You’ll see a pre-built email and delay timer.
- Mark the email as Ready and then return to the sequence.
- Mark the sequence as Ready
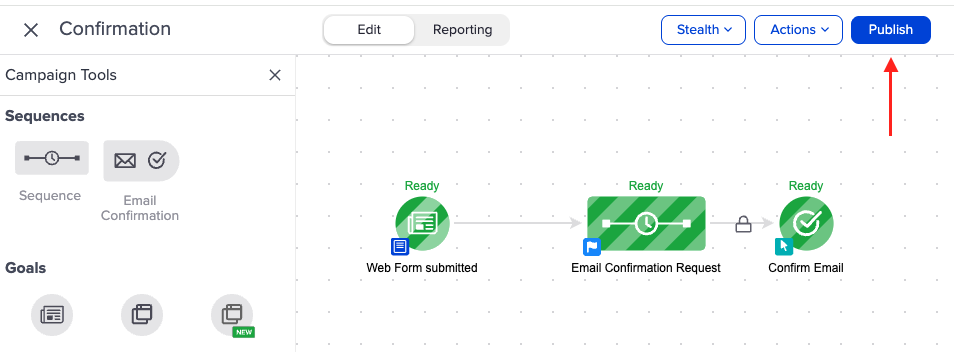
- Publish your campaign.


Pro Tip: You can add a reminder (2nd) confirmation email in the sequence if a contact doesn’t confirm right away. This increases the chance that they’ll verify their email and receive the content they requested.